

How to Create Your Own Problems/Routes
Route/Problem Setting at Home
Creating diverse and engaging problems at home is not only fun but also essential for improving climbing skills and keeping workouts exciting. Whether you're setting up a small bouldering wall or a more elaborate climbing structure, incorporating variety into your routes will challenge climbers of all levels and enhance overall climbing enjoyment.
Understanding Route Setting Basics
Before we dive into the specifics of creating a varied climbing route, let's review some fundamental aspects of route setting:
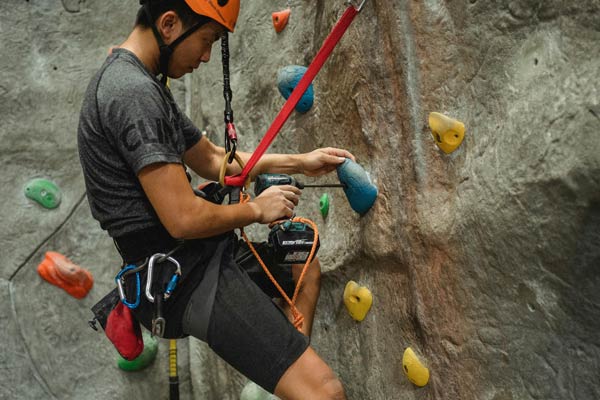
- Hold Placement: Strategically placing holds to create specific movement sequences and challenges.
- Route Flow: Ensuring smooth transitions between holds and maintaining a logical progression of difficulty.
- Wall Features: Utilizing different wall angles, features, and textures to enhance route diversity.
Steps to Designing a Varied Climbing Route
1. Assess Your Climbing Wall
Begin by evaluating the size, shape, and features of your climbing wall. Take note of any natural features or holds already installed.
2. Select a Climbing Objective
Decide on the goal of your route. Are you designing a warm-up route, a technical challenge, or a power endurance circuit? Understanding your objective will guide hold selection and route design.
3. Choose a Variety of Holds
Gather a selection of climbing holds, including jugs, edges, slopers, pockets, pinches, and crimps. Aim for a balanced mix of holds to cater to different climbing techniques and difficulty levels.
4. Plan Hold Placement
Start mapping out your route on paper or using a route-setting app. Experiment with hold placement to create sequences that flow naturally and offer diverse climbing movements.
5. Consider Climber Progression
Design routes that accommodate climbers of varying skill levels. Include easier sections for warm-ups and more challenging sections for advanced climbers.
6. Incorporate Wall Features
Take advantage of your climbing wall's features, such as overhangs, corners, and aretes, to add complexity and interest to your routes.
7. Test and Adjust
Once you've set your route, test it yourself or invite friends to try it out. Make adjustments based on feedback to optimize the route's flow and difficulty.
Tips for Creating Successful Problems
- Use Tape for Marking: Use colored tape to mark holds and guide climbers through the route.
- Think About Movement: Consider the types of movements you want to encourage (e.g., dynos, heel hooks, gastons) and place holds accordingly.
- Rotate Holds Regularly: Keep your routes fresh by rotating holds and experimenting with new combinations.
Safety and Considerations
- Ensure Hold Stability: Make sure holds are securely fastened to the wall and can support climbers' weight.
- Provide Adequate Padding: Place crash pads or mats beneath your climbing wall to cushion falls.
Conclusion
Designing varied problems at home is a rewarding and creative process that allows you to personalize your climbing experience. By following the steps outlined in this guide and experimenting with different hold placements and sequences, you can create routes that challenge and inspire you to improve your climbing skills. Remember to have fun and continuously evolve your routes to keep your climbing sessions fresh and engaging.


